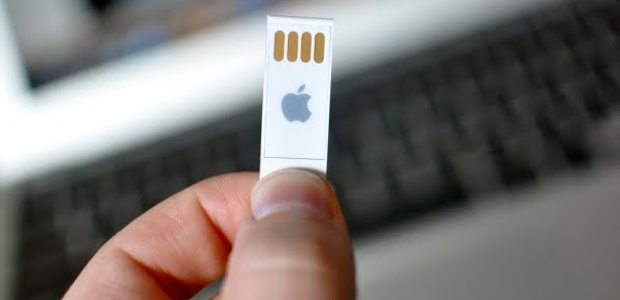
Sometimes, using the built-in recovery mode or App Store to install OS X 10.10 Yosemite can be uncomfortable. This is the reason why Apple provides you with the possibility to create a bootable USB drive. The bootable USB drive can be used practically anywhere, anytime, and on any type of compatible Mac to quickly and safely have your operating system running. What’s more, you do not even need an Internet connection. Your bootable USB drive contains all you need. The present article will explain as well how to make use of a third-party tool, just in case the Apple alternative does not suit your needs.
Creating a bootable USB drive is an extremely easy process. The only things you need are an 8 GB USB memory drive and a Mac. Keep in mind that a minimum of 8 GB memory capacity is necessary given that the setup file is quite large.
The first step is to go to App Store and download the setup file. Once the download is finished, Install OS X Yosemite will become available in your Apps folder, along with the OS X 10.10 Yosemite setup wizard. Since the wizard is not necessary for this particular process, it can be closed without any problem.
You should also make sure to back-up all the files stored on your USB memory drive, as all its content will be deleted. And do not forget to carefully read all the instructions before starting the process!
The solution provided by Apple
Apple puts at our disposal an OS X tool, specifically designed for setting up bootable USB drives. Though this tool isn’t available from Launchpad, an available installer can be found on OS X Mavericks’ support page. However, the provided instructions on the website are not precisely clear, being meant only for OS X 10.9 Mavericks. In order to be able to use the tool, Apple points out that the Mac you are going to use it on must run OS X 10.10 Yosemite.
Let’s now have a look at how you should proceed:
- Connect the USB memory drive to the Mac.
- Use Disk Utility (you can find it under Launchpad in Other), format the USB memory drive and then change its name to Yosemite. You can also do this by using the Erase tab contained in the application. You have to ensure that there aren’t multiple partitions.
- Open Terminal. You will find it in the same folder where the Disk Utility app is also located.
- For the commands that need to be typed at this stage, please check the following link: http://support.apple.com/kb/HT5856
- In order to initiate the process, you will have to type your admin password.
This is one of the best available methods to create a bootable OS X 10.10 Yosemite USB memory drive. It usually works without any problems and gives excellent results. Unfortunately, you won’t be able to know how much time it is necessary for the process to complete. This is the main reason why the higher the speed of your USB memory drive, the better and the faster the process will be.
A friendlier and more versatile available tool
There is another available option for this job: DiskMaker X. Since it practically automates the bootable USB memory drive creation process, this tool is more user oriented than the solution provided by Apple. However, you are still required to know exactly which options you need to select. Like previously mentioned, this tool works with previous operating system incarnations. According to the information available on the official site, the DiskMaker X version compatible with OS X 10.10 Yosemite will also function with OS X 10.8 Mountain Lion and OS X 10.9 Mavericks. Unfortunately, at this precise moment, it is still available in beta. This practically means that there are high chances you run into bugs.
If you are interested in utilising the DiskMaker X tool to create your bootable USB memory drive, here are the steps that you will need to follow:
- Connect the USB memory drive to the Mac.
- Open DiskMaker X and click on Yosemite 10.10 (however, due to its beta status, you might get a warning.)
- Click Use this copy to utilise the Install OS X Yosemite application from your Applications folder.
- Select the 8 GB USB drive (if you wish to use something different, make sure to select the Another kind of disk option.)
- If necessary, select the USB memory drive you have decided to use for the process from the given list. Then you will have to select the Choose this disk option.
- Erase then create the disk should be your next selection.
- Choose Continue.
- If requested, insert your administrator password.
Unlike the tool provided by Apple, DiskMaker X will let you know the necessary time for the process to finish. As in the previous case, the higher the speed of the USB memory drive, the better and the faster the process will be. Therefore, if you are in a hurry, make sure to use the fastest available USB memory drive.
What should you do next?
Since you now have your bootable USB memory drive, you might also be interested in installing the operating system on the Mac. In order to achieve that, first you will have to restart your Mac. The next required step is to select the Option key and boot from this drive. The next step is extremely fast and simple: just utilise the step-by-step setup to install OS X 10.10 Yosemite.
